Showing posts with label Lunch. Show all posts

Wednesday, January 21, 2015

SMOKED GOUDA AND HAVARTI CHEESE GRITS


Oh my goodness!  Could a savory dish be more rich and delicious???

This was only about my fifth time to even eat grits....and four of those have been within the past 6 months!  My son made them for me back in the summer and I was hooked.  I was only half watching when he made it and I still don't know quite how he makes his, but his are different than mine because of the ingredients.  The best part is you can add anything you would like to it or on top of it.  Last night, I made my Maryland Crab Cakes with a lemon-butter caper sauce to serve with it, but I am going to have to work on the sauce so I didn't post it.  
Since I was just starting out, I just added a couple of my favorite cheeses, some roasted corn and a few thinly sliced green onions...not too many.  I was thinking that next time I will add some bacon....I mean bacon takes everything up a notch....right?!?!  

Let me just say something about the cheeses I chose to use.  I love, love, love smoked gouda.  I love to grab a slice of it and eat it on a cracker.  I used Cream Havarti which is a little creamier than regular havarti because it has more cream in it....makes sense!  I like to cook with havarti because it is so mild and smooth and it melts really nicely.  I might even add some parmesan next time....maybe grated over the top would be nice.  I wonder what a mexican version would taste like?  You could maybe add some queso fresco and monterrey jack or pepper jack cheese to the grits and then top it with a dollop of salsa or pico de gallo.  Hmmmm???  May try that sometime soon!

Now for the corn!  Roasting corn is the easiest thing to do and kind of fun.  I like hearing the kernels pop, pop, pop! Don't cook it too long though, you definitely want the crunchiness but also the juiciness of the kernels.  


One of the best things about grits, is that it literally takes only about 10 minutes to cook!  Five minutes on the stove and about 5 minutes resting time.  I used a mixture of equal parts chicken broth and half and half.  Because I made mine a little ahead, I had to add some heavy cream before I served it.  Top it with a little of the roasted corn and thinly sliced green onion tops and you are done.

If you are tired of potatoes or rice and would like to try something different...try them.  I really think you cannot go wrong!


SMOKED GOUDA AND HAVARTI CHEESE GRITS

1-1/2 cups Chicken Broth  (1 can of Campbells's Chicken Broth is perfect)
1-1/2 cups Half and Half
1 cup Corn Grits
2 tablespoons of Salted Butter
1 cup Smoked Gouda
1 cup Cream Havarti
Heavy Cream (no certain amount...use to bring grits to consistency)
Charred Fresh Corn Kernels
Thinly Sliced Green Onion Tops
Salt and Pepper to taste


In a medium saucepan, bring your chicken broth and half and half to boil over medium to high heat.


Pour in grits and turn heat to between medium and low.  Stir off and on for 5 minutes. 


Add butter and approximately 1/2 cup of corn kernels. Stir and let sit for 5 minutes. 


Add the cheeses and stir until well incorporated.

I made this picture extra large so you can see all that stringy, melty cheese goodness!!


When ready to serve, add whipping cream or half and half to bring it to the consistency you would like.  


Top with roasted corn kernels and thinly sliced green onion tops.   

NOTE:  Great with some hot sauce sprinkled on or a dollop of Chili Garlic Paste


ROASTED CORN


2 Fresh Ears of Corn (husk removed)

Place the ears of corn directly on a stovetop burner that is at medium to low heat.  

Watch as the kernels start to char.  

Turn every 30 seconds or so to keep from over cooking.

Don't be alarmed when you hear a popping sound...it's normal.


Stand the corn on end and remove the kernels with a knife running downward against the cob.


ENJOY!

Wednesday, January 14, 2015

THE BEST HOMEMADE GARLIC TOAST WITH SPAGHETTI AND MEATBALLS


This post is about one of my favoriteeeee things....garlic toast.  Not the kind of toast that comes frozen in a bag.  Although, I do like that kind of toast.  Nothing can top good ole homemade garlic toast!!

The only problem is that I almost always burn it.  So, don't walk away while it is in the oven.  It cooks so fast and I get distracted and the next thing you know, burnt toast.  However, I will still eat it.  I like it even if it is burned...now that is true love! Ha!  The key is to put someone else in charge of watching it in the oven.  Found that out after about the 300th time I torched it!  I like to toast it on both sides because I like that crunchiness on the outside edges but that soft, buttery center.  Oh my gosh....delicious!  Be sure you use real butter and fresh garlic...no margarine and no garlic powder...believe me you will thank me for this tip!

Because I have been sick, I still cannot smell or taste so I decided to take some Mama Colicihia's Spaghetti Sauce that I made a few months ago out of the freezer and make some meatballs (this link is to a spaghetti sauce with fresh tomatoes but, if you will scroll to the bottom, it will have the recipe for meatballs). It does take some time to make the sauce, but it makes a lot so I freeze it for not only spaghetti but for things like cabbage rolls, as well.


I know this is a post about garlic toast, but I do want to give a little tip I learned a while back about how to keep your noodles from sticking together.  First, add olive oil to water that the noodles are cooked in.  Next, drain noodles but do not rinse them.  Next, put noodles in a bowl or back in the pot they were cooked in and then add enough spaghetti sauce to lightly coat them.  It's great...they do not stick!


Okay, let's get busy making that garlic toast!  Oh and I almost forgot to tell you how wonderful your house will smell.  It's a bonus!


See that toasty edge...ahhh...and that buttery center!  Divine!!


THE BEST HOMEMADE GARLIC TOAST

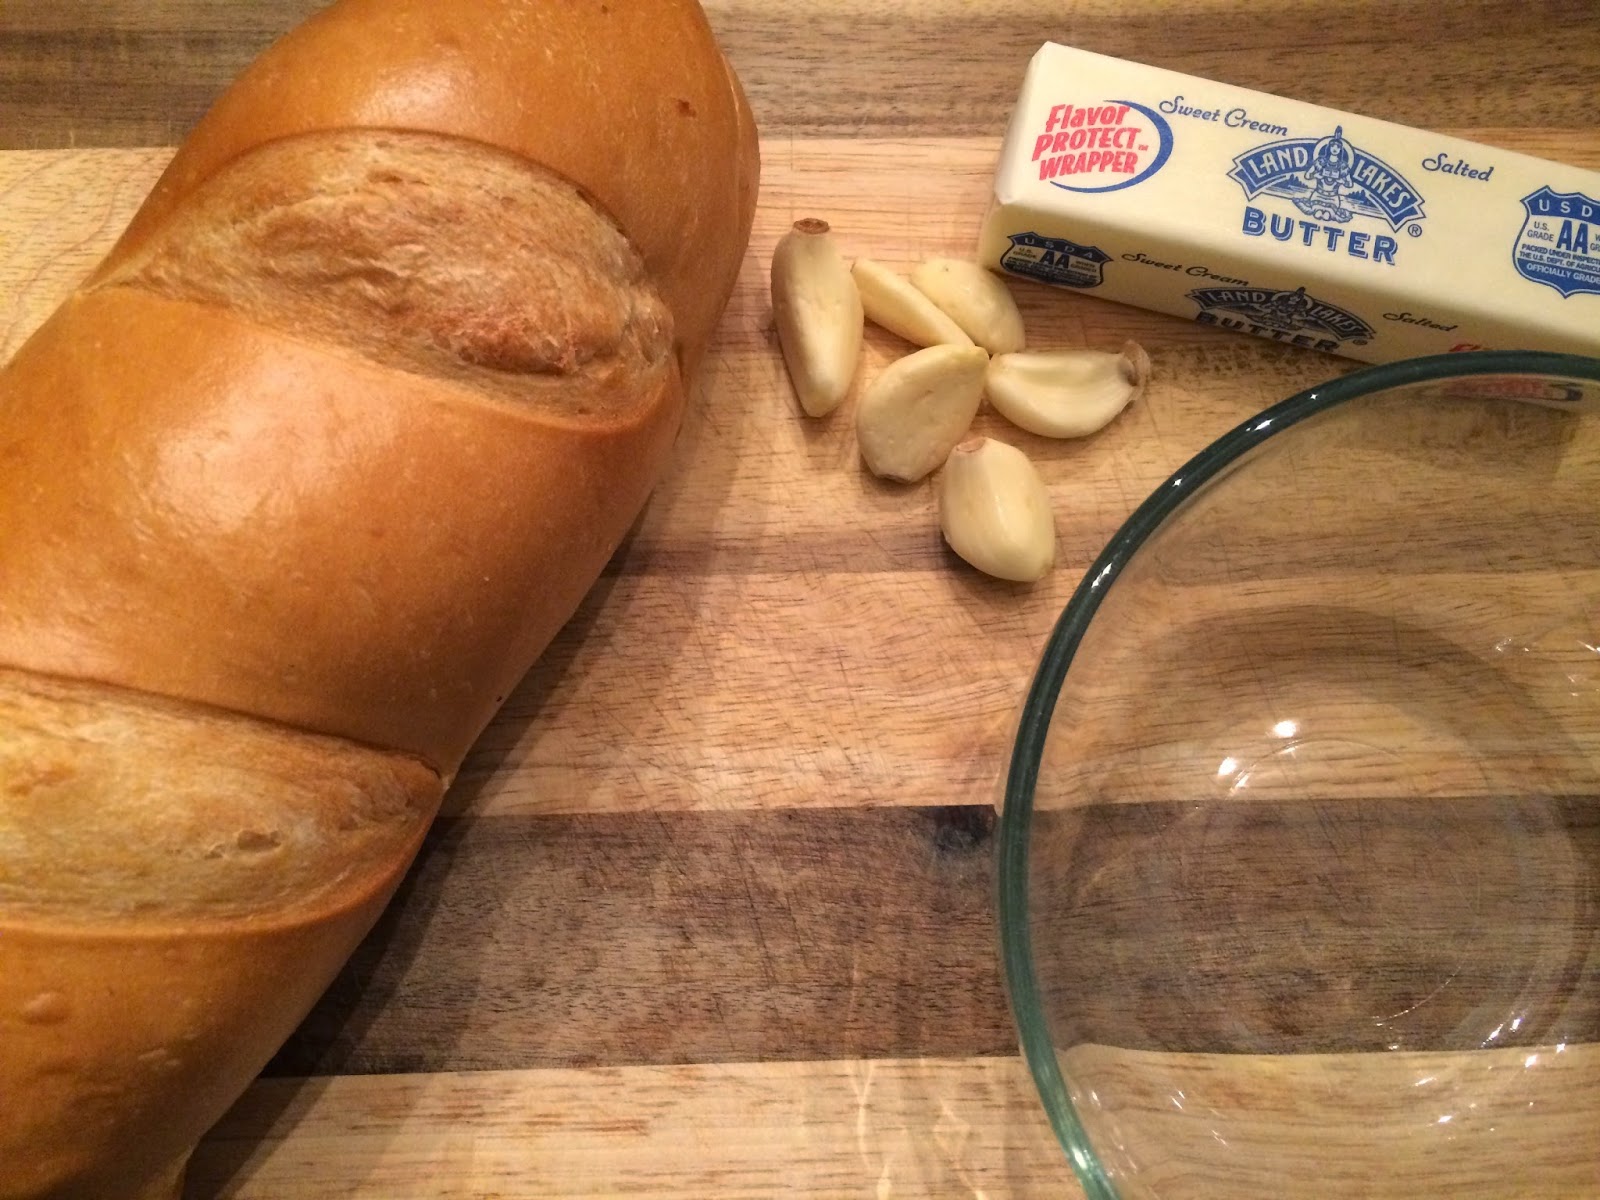
1 Loaf  French Bread, sliced into 1 inch wide slices (approximately 8)
6 tablespoons Salted  Butter, softened
2-3 Garlic Cloves, minced


Slice bread into 1 inch wide slices.  Approximately 8 total.


Combine softened butter and garlic in a small bowl until creamy.


Spread butter on both sides of bread  and place on a parchment lined cookie sheet.


Toast bread on one side under broiler until golden brown.


Flip bread over and toast on other side.


Remove from the oven and serve while hot!  Make sure that you make plenty...you won't be able to stop at one : )


ENJOY!


Sunday, December 28, 2014

HOT HAM AND CHEESE SANDWICHES


If I had a dollar for every time I made these sandwiches, I would be a happy girl!  Just looking at them right now makes my mouth water!  Oh my goodness, they're A-M-A-Z-I-N-G!!

My friend Matresa gave me this recipe years ago.  I have made them for so many occasions...bridal showers, baby showers, birthday parties, holiday get togethers, and sometimes for my family on days that I know will be busy.  These are good by themselves with some chips or you can serve them with soup.  I have not found a person that does not like them.  The best thing is you can make them the day before and then bake them up the next day.

I have made them on all different kinds of rolls.  The original recipe called for Pepperidge Farm finger rolls.  When PF stopped making them, I used SaraLee dinner rolls.  These particular sandwiches in the picture were made using King's Hawaiian Dinner Rolls.  I have also used turkey in place of the ham and a ham/turkey combination.  You could even experiment using your favorite cheese.  I think Havarti or Provolone might be good.

But what really makes these taste so good is the sauce that you pour on top.  I doesn't look great when you are cooking it but it takes these rolls to whole nutha level!   Oh and the smell in your kitchen is absolutely divine!

Trust me, you can't go wrong if you bring these for your New Year's celebration!  You will get a ton of compliments and I just bet it will become one of your favorite go-to recipes!


HOT HAM AND CHEESE SANDWICHES

1 pound Sliced Ham (I use Black Forest)
1 pound Sliced Swiss Cheese
2 packages King's Hawaiian Dinner Rolls (or other pre-made dinner rolls)
1-1/2 teaspoons Worcestershire Sauce
1-1/2 sticks Butter
1-1/2 tablespoons Dry Minced Onions
1-1/2 tablespoons mustard


Cut rolls in half making a top and a bottom.  Place bottom half in a buttered, glass baking dish.

Layer ham, then cheese on top of rolls.

Put top half of rolls on top of the ham and cheese.

Melt butter and add remaining ingredients.  The mustard doesn't really combine well and that's fine.


Cut along perforated edges making single sandwiches.

Pour butter mixture over the sandwiches.

Place toothpicks in several of the sandwiches, cover with glad wrap and place in refrigerator overnight.


Remove the glad wrap and toothpicks and place in a cold oven.

Turn oven to 350 degrees and bake for 20 minutes or until cheese is melted.  I always try to take these out of the fridge about an hour or more before I put them in the oven.  A cold dish put into a hot oven can cause it to break. Watch closely to make sure the onions on top and the bottoms do not burn.  


ENJOY!