Showing posts with label chocolate. Show all posts

Wednesday, February 11, 2015

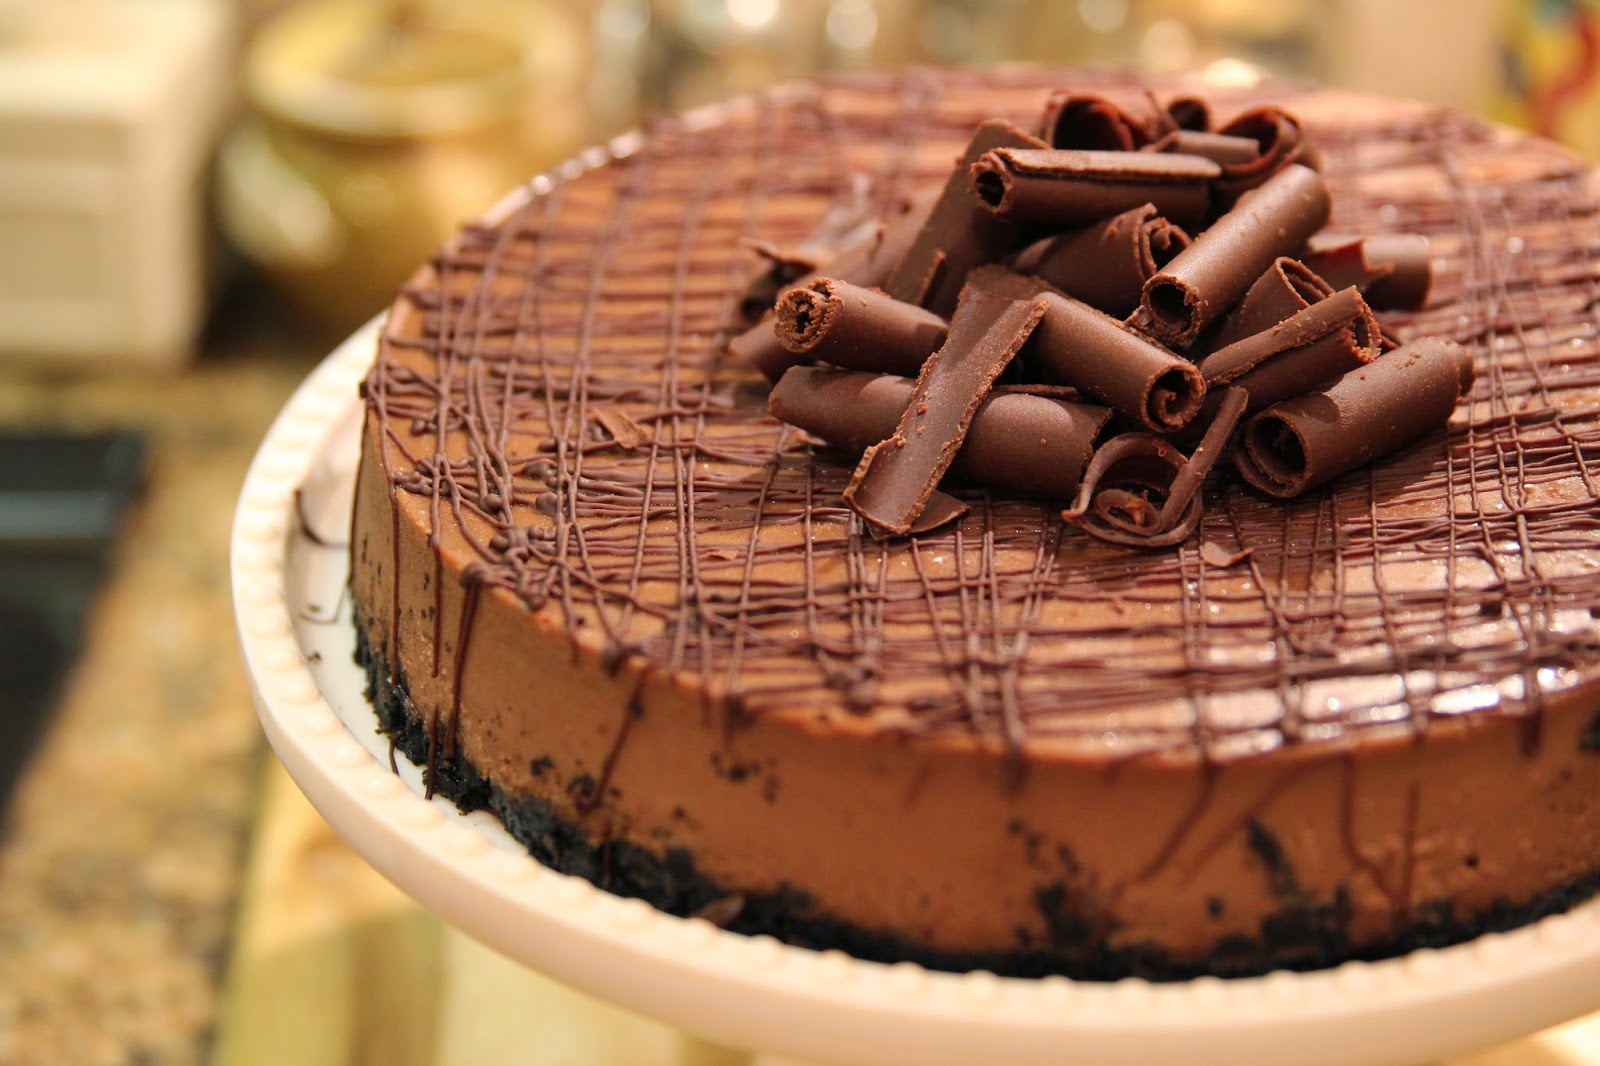
MILK CHOCOLATE CHEESECAKE WITH FRESH WHIPPED TOPPING AND RASPBERRIES


I have never been a really big fan of cheesecake.  But, the other day I saw a picture on the front of a magazine, and it looked so good that I found myself craving a slice. 
 
I have never made a cheesecake...because it seemed like a monumental task and, like I said, it has never been my favorite.  I do make some little cheesecake tarts, which I really like and have actually blogged...I know that doesn't make sense, soooo welcome to my world.  What I really like is CHOCOLATE!  Because it is Valentine's Day in just a few days, I decided this would be the perfect dessert for our Valentine's Bunco! 
 
I had a group of friends coming over to my house to play Bunco.  I've played in this group for close to 2 decades (that makes it sound like a really long time)!  We started playing when our children were very young.  I can remember all our girls always wanting to play.  I think our group has gone from being about the game to being about the food and the chatting.  Here are a few of the girls...some are missing so I will have to catch them later.
 
 
Stephanie, Tricia, Julie
Terri and Rebecca


Babette
D
Jolynn
Debbie and Tricia

 Two days and three cheesecakes later, I have decided that making a cheesecake is not that difficult but there are some things that you must do or must not do to ensure a cheesecake that is creamy and does not crack on the top.  I learned something with each one and the final one turned out perfect.  Here are some of the things I learned...

1.  Low and Slow is the name of the game when it comes to baking cheesecakes.  If you are in a rush, then you just need to wait or make something else.

2.  A water bath is a cheesecakes best friend.  The first recipe I tried said to just cover the cheesecake for the first hour and that would provide enough moisture but it ended up with a crack the size of the grand canyon.  The second one said to just place a pan of water in the oven.  But the third time, I placed it in a water bath and voila...creamy and no cracks.

3.  Bake and then turn the oven off and leave the cheesecake in the oven for an hour.  Going from one extreme temperature to another may cause cracks in the surface.  I was so paranoid that after an hour, I just opened my oven door and didn't take it out for another 30 minutes.  Probably unnecessary but I was just about tired of baking a cheesecake that look perfect only to have it crack at the end.

4.  Do not overbake.  When the cheesecake looks dry or firm on the sides but jiggles in the middle, turn off your oven.

5.  Make sure you scrape down the sides when beating the cream cheese and also, when incorporating the chocolate mixtures into the cream cheese. Also, check the bottom of the bowl to make sure there is no cream cheese lingering there.  You do not want any little cheesecake flecks showing up in your batter.  When I poured my cheesecake into my pan,  I used a spatula to urge it out of the mixing bowl but I did so very gently. 

I know this sounds like a lot of steps, but I am just telling you all the things I learned with three tries so that you will only need one try.  And it helps me remember the next time I make a cheesecake, since it will probably be a while.  I can't stop eating it and that isn't good when you are trying to lose some weight!

The best thing about this cheesecake is that you can make this ahead a day or two before you need it.  In fact, you should make it, at the very least, a day ahead because it needs 8-24 hours to chill and set.  Also, because it is so rich, you can serve 12 people smaller slices, and still have a slice or two left over. I had asked my sister-in-law to play bunco with us that night, but she was packing up to go and visit her grandbabies.  She loves Chocolate Cheesecake so I ran her and my brother in law a slice down to their house at around 9:30 p.m and before I left, it was gone, gone, gone!  Haha! 

If you have time, drizzle the chocolate over the cheesecake before serving.  Because the cheesecake will be cold, the chocolate drizzle will harden immediately.  Make those little chocolate curls on top, ahead of time, store in a bag in the freezer, and add to the cheesecake just before serving.  I had so much fun.  It was like magic, the way they curled up on their own.  The directions follow the recipe below.

So there it is, everything I learned about making a cheesecake.  I hope you try this recipe for the chocolate lover(s) you know...they will love you for it! 

HAPPY VALENTINES DAY EVERYONE!


MILK CHOCOLATE CHEESECAKE
WITH RASPBERRIES AND FRESH WHIPPED CREAM

16 Oreos
2 tablespoons sugar
2 tablespoons butter, melted
(2) 3.3 ounce Dove Milk Chocolate Candy Bars
1/3 cup Heavy Cream
4 tablespoons Sweetened Condensed Milk
3/4 cup sugar
1/4 teaspoon salt
2 tablespoons unsweetened cocoa
(3) 8-ounce packages Cream Cheese, room temperature
4 eggs, room temperature
2 teaspoons Vanilla

1.  Place oven rack in the middle of oven and preheat to 350 degrees. 

2.  Spray a 9-inch spring form pan with Baker's Joy and place on a 13 X 9 baking sheet.

3.  Break up oreos into smaller pieces and place in a food processor.  Add 2 tablespoons sugar.  Process for about 30 seconds.  Add butter.  Pulse 6 times.

4.  Pour oreo mixture into pan and tamp down with a measuring cup.

5.  Bake in 350 degree oven for 10 minutes.

6.  Take out of oven and off of baking sheet and place on cooling rack until cooled.

7.  Reduce oven to 300 degrees.

8.  Break up the dove chocolate bar into small pieces and place in a medium size, glass, microwave safe bowl.  Add the whipping cream and the condensed milk.  Place in the microwave at 50 percent power for 60 seconds, stopping to stir every 15 seconds until melted.

9.  Set aside to cool.

10.  In a small bowl, mix cocoa, salt, and 3/4 cup sugar until well incorporated. 

11. Place the cream cheese in a stand mixer fitted with the paddle attachment.

12.  In a small bowl, mix cocoa, salt, and 3/4 cup sugar until well incorporated. 

13. Add the cocoa mixture to the cream cheese, and beat on medium speed for 2 minutes, stopping to scrape bowl as needed.

14. Add the melted chocolate mixture and mix on medium-low until incorporated.  Make sure that all of the cream cheese is completely blended with the chocolate mixture.

15. Add one egg at a time on low until well incorporated.  Add the vanilla with the last egg.

16. Cover the bottom and up the sides with aluminum foil making sure to bring the aluminum foil up around the sides.  I used a couple of sheets going opposite directions.  The first sheet should be come up on all sides at least 1 inch so that the water will not get into the pan.

17. Pour cheese mixture on top of the cooled crust...DO NOT SCRAPE SIDES.  Any cream cheese bits could cause the cheesecake to split on the top when baking.

18. Drop the pan lightly on a hard surface a few times to cause the air bubbles to rise to the top and burst.

19. Place spring-form pan in a large baking pan and place in oven.

20. Pour boiling water into the pan to just about 1/2 inch up the sides. 

21. Bake for 1 hour and 5 minutes rotating once halfway through the baking time.

22. Turn off oven but do not open the oven door.  Leave the cheesecake in the oven for 1 more hour.

23. Take out of oven, but leave in the spring form pan.  I actually opened the oven door and let it stay in there for about 30 more minutes. I don't think you have to do this but after making 2 cheesecakes that split right down the middle at the end of the cooking time, I wasn't taking any chances.

24. Run a knife around the inside edge to make sure the cheesecake does not stick.

25. Let cool completely.

26. Remove the outer pan from the bottom.  Slide a spatula under the cake and slide onto a cake plate or stand.  Cover with wax paper, then plastic wrap and refrigerate for 8-24 hours before serving. 

27.  Before serving or after cheesecake has been in the refrigerator and is chilled, drizzle with the chocolate and top with chocolate curls.  Serve with raspberries and fresh whipped cream.


CHOCOLATE CURLS: I melted 1/2 cup semi-sweet chocolate morsels and 1 tablespoon of shortening in the microwave for about 30 seconds or until melted.  Pour out on the back of a baking sheet and smooth with a spatula. 


Place in the freezer for about 2 minutes.  Take out and touch the top with your finger.


  If it leaves a fingerprint, it needs about another minute in the freezer.  You want it to be just cold enough to not leave a fingerprint but not too cold or it will not roll properly.


Take a metal spatula and flip it over and scrape the chocolate slowly.  It should curl.  If it just crumbles, it is too cold.  Just give it a minute and try again.


CHOCOLATE DRIZZLE:  Melt 1/2 cup semi-sweet chocolate morsels with 1 tablespoon shortening and melt in microwave in a small microwave safe bowl for about 30 seconds or until melted. 

Pour into a Ziploc bag.  Slice the smallest piece off of one corner. 

NOTE:  Make sure your cheesecake is cold so the chocolate will harden immediately when it hits the cheesecake.  That is important so that there no running together, just straight and perfect lines.  Hold it about 8 inches above the cheesecake and working quickly in a back and forth motion.  Turn the cheesecake 180 degrees and repeat the motion.  You can use as much or as little as you want. 


ENJOY!


Saturday, July 19, 2014


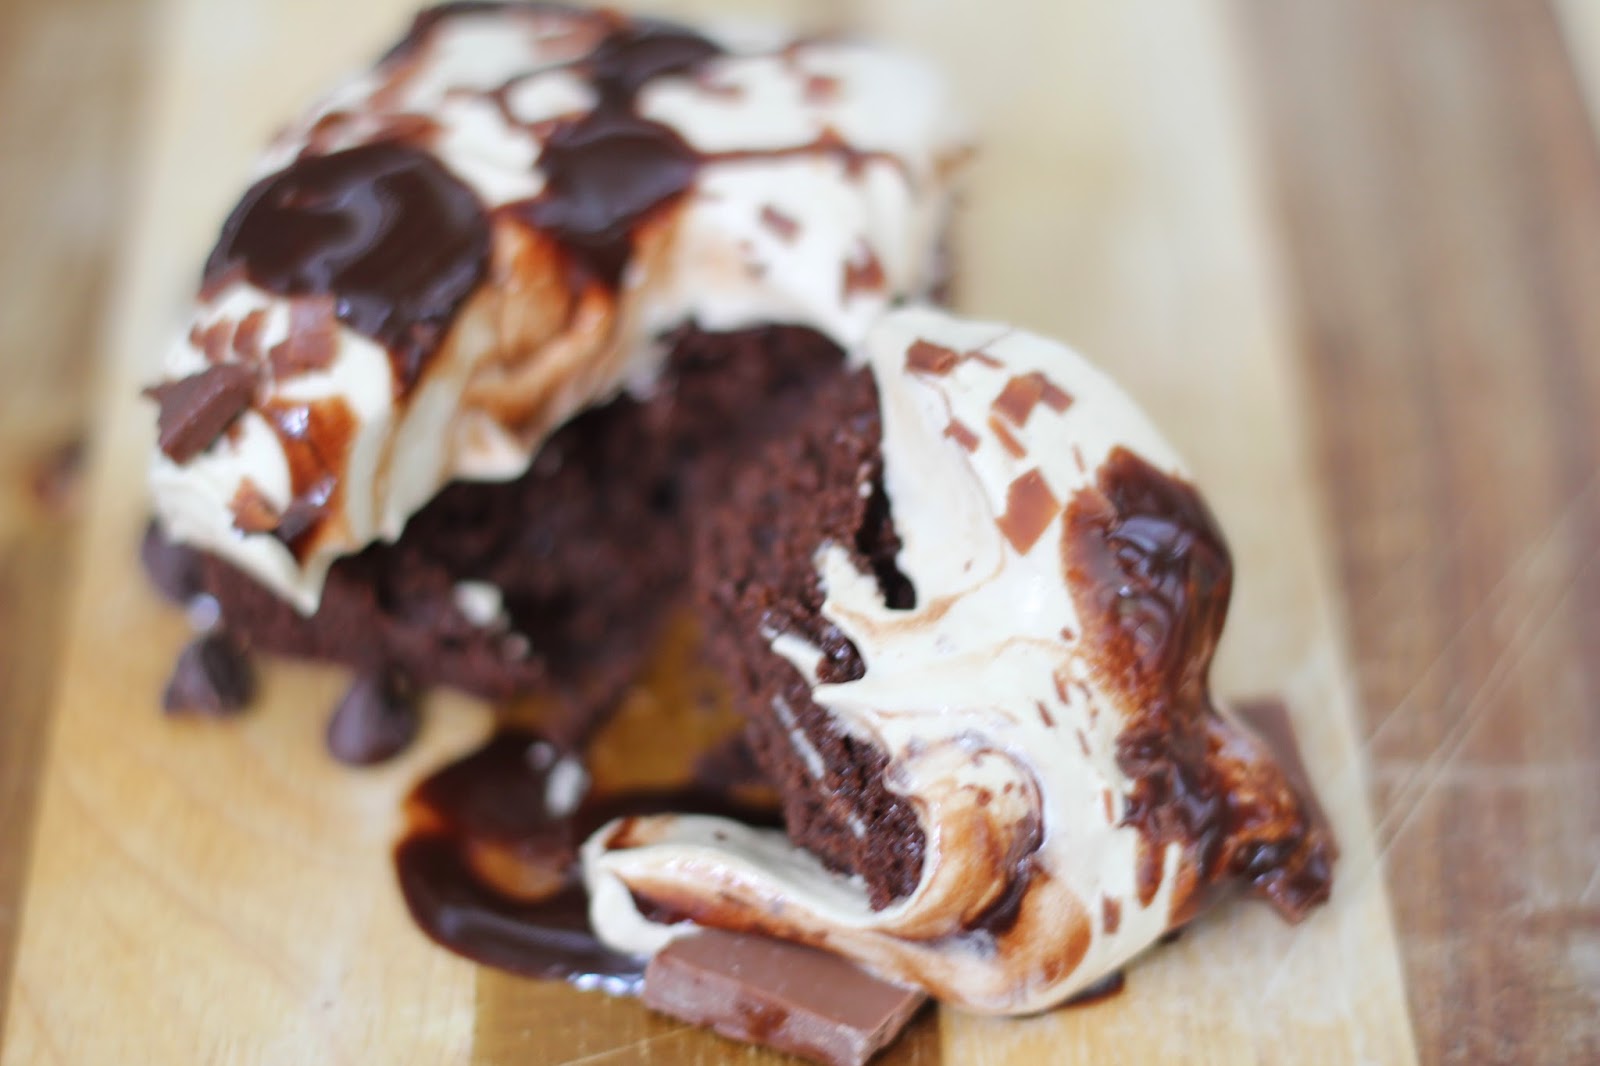
CHOCOLATE MOCHA CREAM CAKE

This cake is one of my Top 5 favorite cakes ever!!!  As a matter of fact, when I asked my son what dessert he wanted for his birthday last week, this is the one he chose...it's just that awesome!

I found this recipe years ago in a Cooking Light magazine.  The reason I decided to try it was because it had won first prize in one of their contests.  We were trying to find desserts that were lower in calories and fat so, I figured if it had won first prize then it was worth a try.  I am sooooo glad I did.  This cake is lower in fat than most cakes but it does not taste like it at all.   It is super moist and so fluffy and is chocked full of chocolatey yumminess.  The coffee adds a flavor that takes it right over the top!  

The cake has no eggs, no butter, no milk, and only 3 tablespoons of canola oil.  The moisture comes from reduced-fat mayonnaise.  I guess you could argue that mayo does have eggs, but reduced fat mayo has just egg whites...and oil.  There are 16 servings in this cake so, those are pretty large pieces.  Each piece of cake has 8.1 grams of fat, 315 calories, 1.8 grams of fiber, 390 mg sodium, 60 grams of carbohydrates and no cholesterol.  Those numbers compared to other cakes are pretty impressive.

If you are on a diet and feel the need to cheat, you could do it with this cake and the guilt factor would be minimal!  You could have your chocolate fix without being set behind too far in your diet!  It is a perfect cheat food!

Talking about it is not a good thing though.  I am now wanting a piece and there is none left...ugh...this could be bad. 


CHOCOLATE MOCHA CREAM CAKE

CAKE

2 cups All Purpose Flour
1 cup Granulated Sugar
1 cup Dark Brown Sugar, packed
3/4 cup Unsweetened Cocoa
1-1/2 teaspoons Baking Soda
1-1/2 teaspoons Baking Powder
1/2 teaspoon Salt
1 cup Reduced-Fat Mayonnaise
3 tablespoons Canola Oil
1 cup Hot, Strong Brewed Coffee
2 teaspoons Pure Vanilla Extract (not imitation)
1/3 cup Semi-Sweet Chocolate Morsels (I like the minis)

MOCHA CREAM

1/4 cup Boiling Water
1 tablespoon Instant Coffee Granules
1 (7 ounce) jar Marshmallow Creme
1 (8 ounce) container frozen Lite Cool Whip 
1/3 cup Hershey's Lite Syrup
Candy Bar pieces and shavings, optional

Preheat oven to 350 Degrees
To prepare cake, lightly spoon flour into dry measuring cups, level with a knife.  Combine flour and next 6 ingredients in a large bowl.  Add mayonnaise and oil, beat with a mixer at low speed until well blended.  Slowly add brewed coffee and vanilla, beat with a mixer at low speed 1 minute or until well blended.  Stir in chocolate, pour batter into a 9 X 13 baking pan that has been sprayed with Baker's Joy or greased and floured.  Bake at 350 degrees for 30 minutes or until a wooden toothpick inserted in center comes out clean.  Cool completely in pan on a wire rack.

To prepare Mocha Cream, combine water and coffee granules in a large bowl, stir until granules dissolve.  Add marshmallow creme, beat with a mixer at low speed until smooth.  Fold in whipped topping.  Spread mocha cream over top of cake. 

 Chill until ready to serve.  

When ready to serve, drizzle the chocolate syrup over the top of the cake and sprinkle broken pieces of a chocolate bar and chocolate shavings over the top.  Serves 16


ENJOY!

CLICK HERE FOR PRINTABLE RECIPE


This piece was my photo slice....I love having to clean up my mess...it was divine!


Saturday, December 29, 2012

FANTASY FUDGE (it never fails)


I love CHRISTmas baking and cooking...it is one of those things that if I don't do then it just doesn't feel like CHRISTmas!  This fudge recipe is one I have been making for years and years and the reason is because it absolutely NEVER fails!   I change up the treats I make every year but fudge is always on the list.  

I made two batches this CHRISTmas season.  It is quick to make and it has such a smooth, rich, milk chocolate-y flavor!  I think I could eat an entire batch all by myself so I try to give most of it away so I don't gain 20 pounds over the holidays!

This year someone broke into my home and took half of my fudge.  My friend, Melissa Miller, called it a "fudge-muggin'"!  We had a description of the suspect...female, mid-twenties, long, brunette hair and a little pregnant round belly!  It sounded like someone I know....haha!

I hope you try this and I apologize for not posting this before Christmas but it's not too late for New Years! 

And one more little side note....I have thought about making a chocolate cake and icing it, then drizzling it with this fudge all around the edges...can you say "divine"?  I am going to do it...maybe for my 50th birthday in a few months!  Half a century deserves something really amazing and this would definitely be beyond amazing!!

FANTASY FUDGE

1-1/2 sticks butter
3 cups sugar
2/3 cup evaporated milk
1-12 ounce package semi-sweet chocolate chips
1-7 ounce jar marshmallow crème
1 cup chopped pecans
1 teaspoon vanilla
Butter a 13 X 9 dish


Melt butter in a medium saucepan


Add sugar and evaporated milk

Bring to a full rolling boil.  Stir constantly to prevent scorching. 
 
Boil for EXACTLY 5 MINUTES!
 
SET YOUR TIMER
 
 
Turn off heat and add chocolate chips
 
Stir until all of the chocolate chips are completely melted

Add Marshmallow crème.  Use the hot spoon to scoop the marshmallow crème out of the jar.

Stir until totally blended


Add vanilla and nuts

Pour into buttered dish.

Cool and cut into squares!

CLICK HERE FOR PRINTABLE RECIPE


Thursday, August 2, 2012

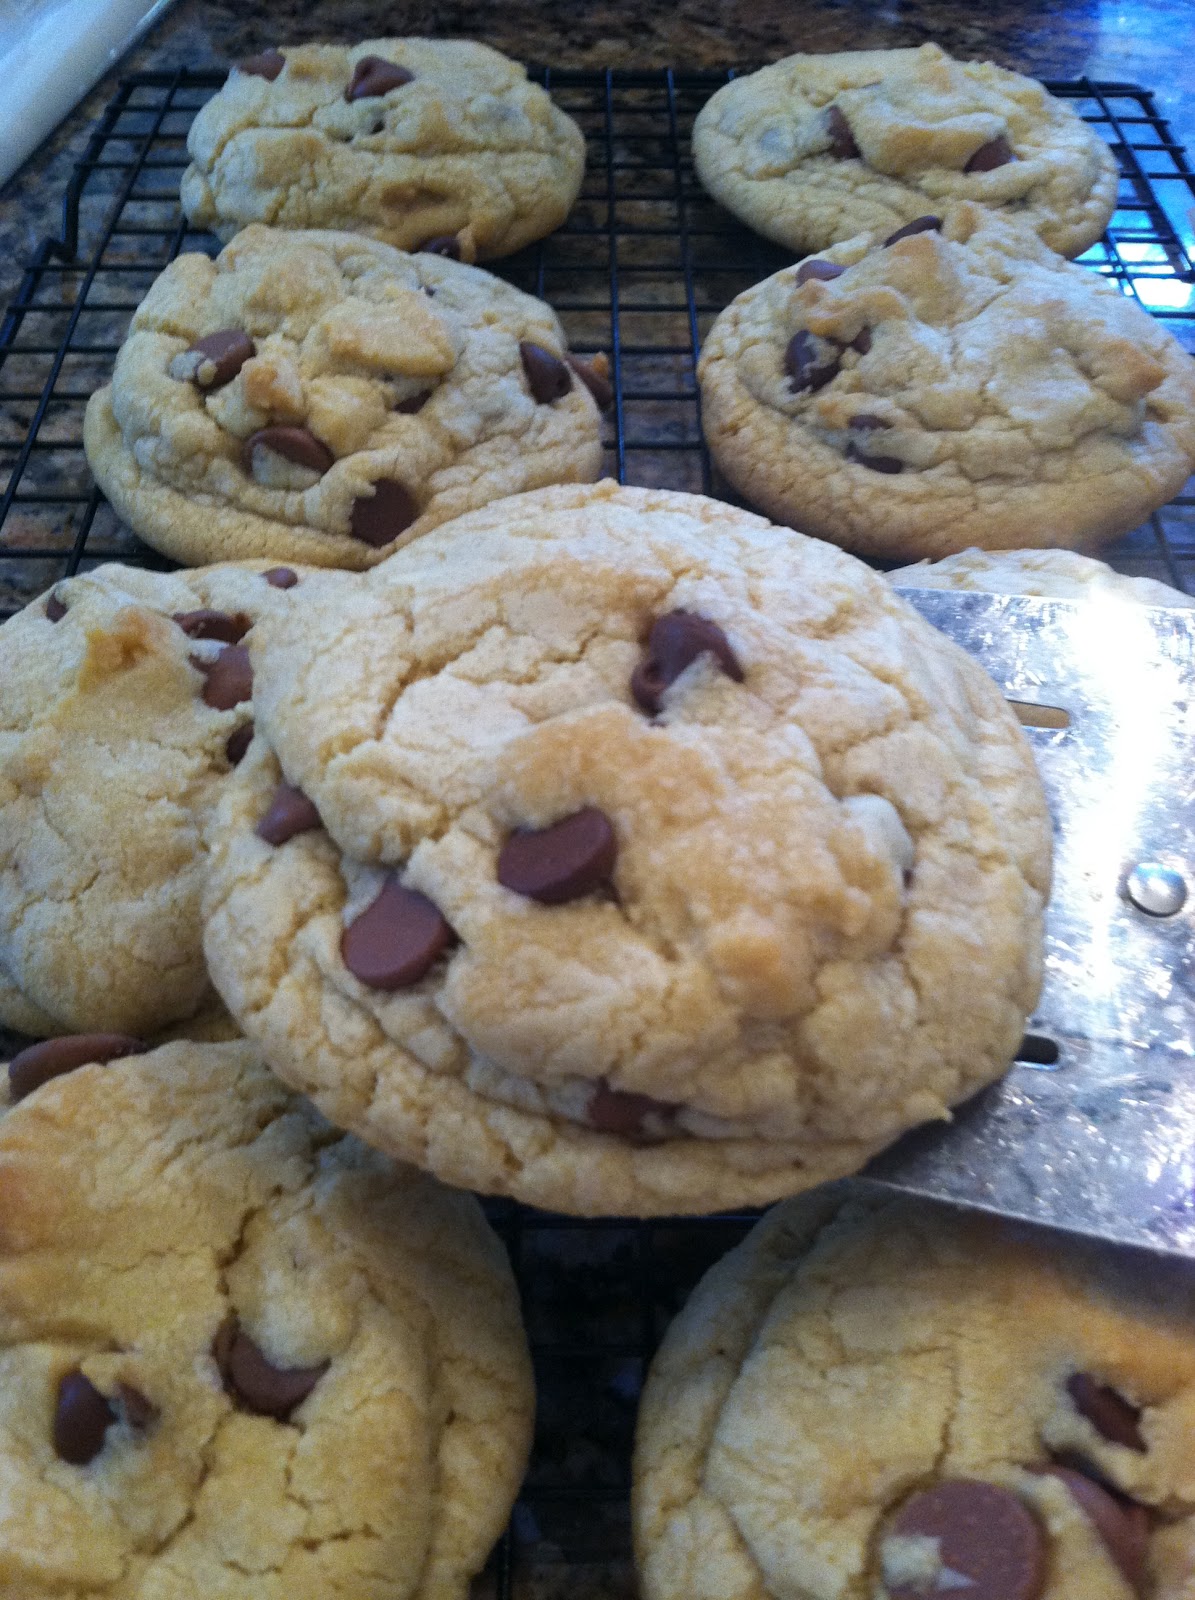
MARCIA'S CHOCOLATE CHIP COOKIES

I have made lots of chocolate chip cookies in my life but when my daughter, Holly, came home from college a few years ago and made these...they became my very favorite!!  They were her roommate, Lauren's, Mom's recipe.

Lauren and her Mom, Marcia!  Beautiful and sweet girls!

If you like a soft, chewy, melt-in-your-mouth, divine tasting cookie....then these are a must-try!!


The key is the ingredients and the ratio used.  Also, the biggest factor is that you mound the dough up high instead of rolling them into balls or patting them flat or rolling and cutting.  It seems weird, at first, and I wondered if they would cook entirely in the center, but they came out perfect the first time and every time since then!


I made these yesterday afternoon and surprised my daughter. These are her favorite cookie!

My daughter Holly

My sister-in-law and brother-in-law, Judy and David, and their granddaughter, Mallory, came over to eat.  I just kept hearing "these are awesome"!  It was not anything I did special...it is just a really good recipe.

I hope you enjoy making these for your family or someone you love!

MARSHA'S AWESOME CHOCOLATE CHIP COOKIES

2/3 cup shortening
1 stick unsalted butter, room temperature
1 cup sugar
1 cup brown sugar
2 eggs
2 teaspoons vanilla
1 teaspoon baking soda
1 teaspoon salt
31/4 cups flour
1/2 bag of semi-sweet chocolate chips
1/2 bag of milk chocolate chips

Preheat oven to 350 degrees.

Cream butter and shortening

Add both white and brown sugar

Blend until well incorporated

Add Eggs

And Vanilla
Beat until well incorporated

Mix your flour, baking soda and salt together in a medium bowl.
Stir 1 cup at a time into your wet mixture.


Add chocolate Chips and mix well

These are the smaller ones, probably the size of a key lime!

Mound dough high.  You can make them any size you want, small or large.  Just watch them in the oven.  I would start checking them at about 10 minutes.  When they start getting golden brown on the bottom, they are ready.  


Transfer to a cooling rack!

Eat them warm or eat them cool....they are good no matter how you choose to eat them.

I have even put frosting between to make a cookie sandwich.
AND/OR....
You could put ice cream between two of them and make a ice cream sandwich. 

YUM!!!!


Thursday, June 14, 2012

ONE OF THOSE DAYS.....

We all have "one of those days" in the kitchen when you wish you could start over.  Well today was one of those days for me!!

Jessica  is turning 23 tomorrow!  Woo-Hoo!!  I just love this girl.  She is one of the sweetest and prettiest girls I know and I wanted to make her a dessert for her birthday.  When I asked her yesterday what kind of dessert she wanted, she said chocolate!!  Perfect!  I just happen to have a recipe for a chocolate cake that I have been making for years and years and everyone who loves chocolate loves this cake.  It is so easy to make and it is probably the best chocolate cake I have ever eaten....I can say that because it is not my recipe so if you follow the instructions, you can't go wrong....or that is what I used to think before today!!!!

I should have known something was gonna go wrong because I was running ahead of schedule and I am always running behind!

I had enough time to actually take pictures to share on here while I was cooking.  

I added all the ingredients and poured it in a pan.  


Let me say right here that I know that disposable aluminum pans are ugly!  My thinking was that if I put it in one she wouldn't have to worry about washing the dish and returning it to me!  But I really hate the way it looks....especially for a birthday cake so that was my first mistake!   Anyway, I popped it in the oven and while it was cooking, I started the icing (my favorite part because I love to lick the spoon)!!


Just a little FYI...not too long ago I was trying to find a really great tasting vanilla for baking.  I bought this Tahitian Vanilla at Williams-Sonoma and I really love it.  Definitely makes the difference in flavor when baking!

I know this doesn't sound like a big deal, but I remembered that my sifter had broken and I didn't have one to sift the powdered sugar and you know how lumpy icing made with powdered sugar can be!  


I just had high hopes that I could beat it enough to get the lumps out....ummm nope!!  


When I poured it on the cake it looked like it had chickenpox....ugh!!


What to do?....what to do?........    I know....I will make some chocolate covered strawberries and put them on the cake to cover the "lumps" !  "Oh that is gonna look sooo good" is what I am thinking!  I decided I would make them this morning!

F.Y.I..... I found this Baker's Chocolate in it's own container.  So all I had to do was pop it in the microwave. When I was done, I just threw the entire container away...no mess!!  AMAZING!!


At this point, I have made them and they look really pretty so why? why? why...didn't I just leave well enough alone?  

I decide....well it is her birthday...I think I will cover them with sprinkles!  I can just hear you all saying NOOOOOO!!!!!  But YESSSSS I did!

I had sprinkles all over my kitchen when I was done and then I looked at my cake and thought "wow...this is just embarassing"!  I don't care how I arranged them....it was obvious nothing was gonna help! 


Sweet Jessica.....Bless her heart.....she got the ugliest cake I have ever made!!

Happy 23rd Birthday Jessica!!!


I hope you don't let this stop you from making this cake....it really is the BEST chocolate cake I have ever eaten!!  

Happy Birthday Jessica!  I'll make this up to you!!


JIFFY CHOCOLATE CAKE

CAKE:
1-1/2 sticks butter
1 cup water
4 tablespoons cocoa
2 cups sugar
2 cups flour
2 eggs
1/2 cup buttermilk
1 teaspoon baking soda
2 teaspoons vanilla

ICING:
1 stick of butter
1/2 cup milk
3-1/2 tablespoons cocoa
1 box powdered sugar, sifted
1 teaspoon vanilla

In a medium saucepan, over medium heat, bring butter, water and cocoa to a boil.  Set aside.  In a large mixing bowl, combine sugar and flour.  Add chocolate mixture and mix well with a mixer.  Add eggs, buttermilk, baking soda and 2 teaspoons vanilla and beat until well blended.  Pour into a greased, floured 13 X 9 pan and bake for 40 minutes in a 350 degree oven.

While cake is cooking, add butter, milk, 3-1/2 tablespoons cocoa in a medium saucepan over medium heat until boiling.  Take off fire and add powdered sugar a little at a time until well blended.  Add 1 teaspoon vanilla and pour over warm cake!  Enjoy!