Thursday, June 26, 2014


STRAWBERRIES AND CREAM SHEET CAKE
 
Okay, I am hoping to win back some of the people I lost yesterday when I posted that less than appealing picture of quinoa.https://blogger.googleusercontent.com/img/b/R29vZ2xl/AVvXsEjrGUHKMCZcnslKKOpBJ-KmjM47_vJRpsE-OafU-MAbPKTF9P9LLVBVc7zHMZMIfzEy6Oqcvp_Sgjd5Smz_2CrMDAlwD9wKiVLgwRlKv2sEV6P3IIjGc344I4Vwl6ycmaDRg1IsU7lj-8k/s1600/herbed+quinoa.jpg  Surely, this will do it.  This cake is heaven on a plate!  Just look at it...doesn't it make you want to stuff the whole thing in your mouth....or is that just me completely out of control!
 
I made this for the first time at Easter.  I think that is when I gained 5 pounds in one day!  This cake is just perfectly moist and the fresh strawberries in both the batter and the icing just put it over the top on the yummy scale!
 
Here are a couple of tips that I have found helpful when baking a cake.  First, make sure all of your ingredients are room temperature.  If you don't have time to allow your eggs to come to room temperature, you can place them in a cup of warm water to take the chill off.  Second, when it comes to baking, always follow the instructions.  Baking is more like a science, while cooking can be tweaked here and there.  Third, use cake flour instead of just all purpose flour.  It has a finer texture than all-purpose flour and gives your cake a fluffier texture.  Lastly, check your oven often to make sure it is heating at the correct temperature.  I have an oven that skips all over the place.  I will put the cake in a 350 degrees and 10 minutes later, my oven will shoot up to 360 then down to 330.  So, count your blessings if you have an accurate oven.  If you have one like mine, just do your best to keep it at an even temperature.
 
Southern Living had this cake in one of their recent magazines.  They always have the best recipes and I love getting my monthly magazine and see what kind of goodies they share.  This cake is going up to the church tonight for the Vacation Bible School workers.  I hope they enjoy it.  I am so thankful for their willingness to teach and help our little ones come to know the Lord and learn about what a wonderful God we serve. 
 

STRAWBERRIES AND CREAM SHEET CAKE
 
Preheat oven to 350 Degrees
 
1 cup Butter, softened
2 cups Sugar
2 large Eggs
2 teaspoons fresh Lemon Juice
1 teaspoon Vanilla Extract
2-1/2 cups Cake Flour
2 tablespoons Strawberry-Flavored Gelatin
1/2 teaspoon Baking Soda
1/4 teaspoon Table Salt (omit if you are using salted butter)
1 cup Buttermilk
2/3 cup chopped Fresh Strawberries
Strawberry Frosting (recipe below) 
 
Beat 1 cups of butter at medium speed with an electric mixer until creamy; gradually add 2 cups sugar, beating 4-5 minutes or until light and fluffy. 

Add 2 eggs, 1 at a time, beating until blended after each addition.
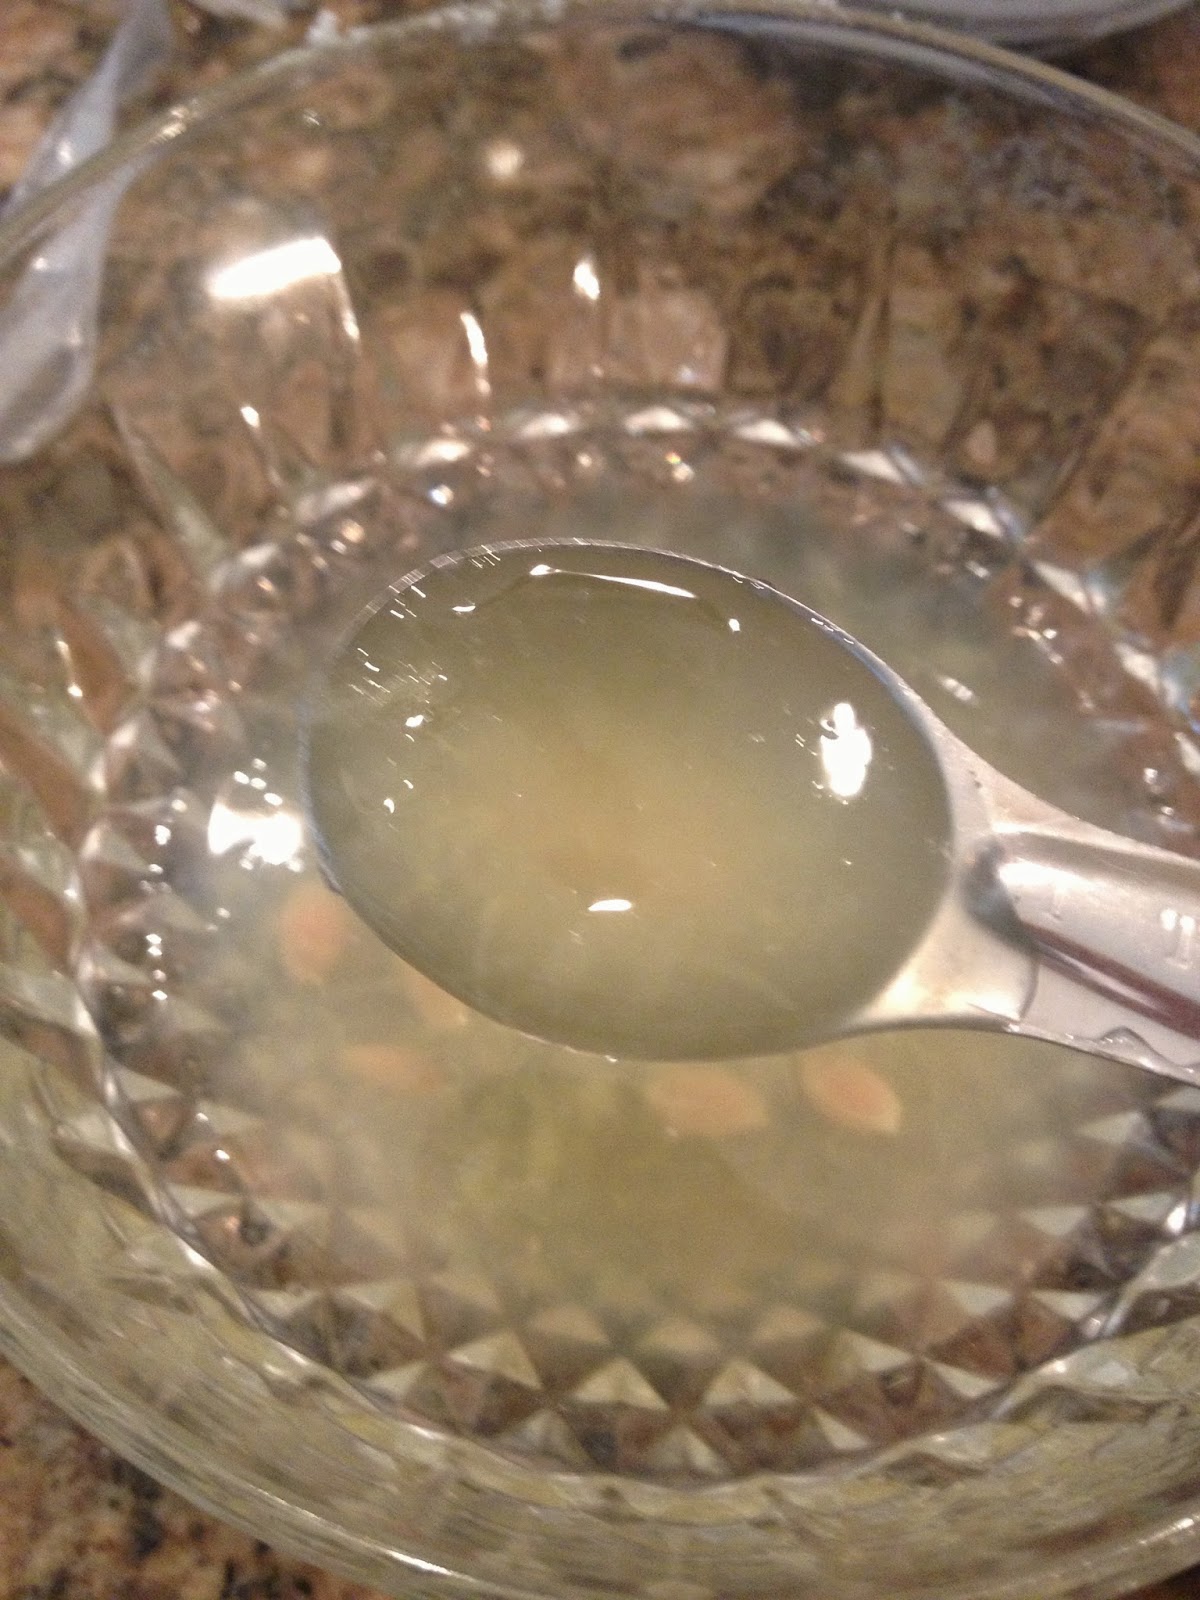
Add 2 teaspoons lemon juice and 1 teaspoon vanilla extract.

Stir together 2-1/2 cups of flour, 2 tablespoons strawberry jello, 1/2 teaspoon baking soda and 1/4 teaspoon table salt (omit if you are using salted butter).  Add 1/3 of the mixture alternately with the 1 cup of buttermilk, beginning and ending with the flour mixture.  Beat at low speed until blended.


Stir in 2/3 cup chopped fresh strawberries.


Pour into a greased, floured 13 X 9 inch pan.  I use Baker's Joy.  Spread batter in pan and place in a preheated 350 degree oven for 30-40 minutes or until a wooden pick inserted in center comes out clean.  Now Southern Living says to cool in pan on a wire rack for 30 minutes.  I let mine cool for about 10 minutes and then flipped it out onto a wire cooling rack until completely cool....about 1 hour.  Spread Strawberry Frosting on top and on sides of cake.


STRAWBERRY FROSTING
 
1 - 8 ounce package cream cheese, softened
2/3 cup sugar, divided
2/3 cup chopped fresh Strawberries
1 drop pink food coloring gel (I didn't use this)
1-1/2 cups Heavy Cream
3 tablespoons fresh Lemon Juice
 
Place a stainless steel bowl and the beaters in the freezer and leave them there until you are ready to use.
 
 
1.  Beat 1 - 8 ounce cream cheese and 1/3 cup sugar with an electric mixer until smooth, add 2/3 cups chopped strawberries and food coloring (if desired); beat until blended.


2.  Beat 1-1/2 cups heavy cream and 3 tablespoons lemon juice at medium speed until foamy increase speed to medium-high, and slowly add remaining 1/3 cup sugar, beating until stiff peaks form. Fold half of cream mixture into cheese mixture, fold in remaining cream mixture.  Use immediately.

NOTE:  Stiff peaks mean that the cream mixture will hold firmly onto the beaters.  Do not overbeat or you will end up with butter.


ENJOY!

CLICK HERE FOR PRINTABLE RECIPE

Wednesday, June 25, 2014


HERBED QUINOA
 
I am really disappointed that I do not have a more appetizing photo to go with this post because One...this is hands-down my new favorite side dish, Two...it is healthy and it tastes amazing....and Three...it looks so much better than this in real life (said in a whiny voice).  I have got to work harder on my food photography skills!
It is for times like these that I wish you could reach through the computer and take a big bite.  The quinoa is cooked but the rest of the ingredients, like the lemon juice and basil, are added fresh.  I seriously love this warm but I equally love it cold, as well. 
 
If you are like me, I did not grow up eating quinoa...I had never heard of it until recently.  In fact, I had to look up what quinoa was...grain...seed...pasta?  I had no idea! First of all, quinoa is pronounced KEEN-WAH.  It is a grain and it is gluten-free.  It is also a good source of protein, iron and fiber.  It is super-easy and fast to cook.  Doesn't it sound like the perfect, healthy food?  These things drew me in and made me want to try it and hope that I would like it.  I so need more healthy items in my diet.
 
Well...success!  I am absolutely in love with this dish (have I said that before?) but, I am not sure that I would love all quinoa dishes.  Quinoa has a distinct flavor, which I feel like this recipe kind of masks.  But I am giving it the benefit of the doubt...so far, so good!  Oh, and I need to give credit to Giada's new cookbook from which I got this recipe from...."Giada's Feel Good Food"!  It is more than just a cookbook, although it IS filled with great recipes, it also has a ton of beneficial health and nutrition tips.

Okay, enough jibber-jabber...here is the recipe!  Hope you try it and like it...let me know : )


HERBED QUINOA

2 cups Chicken Broth (I use Campbell's)
1-1/2 cups Quinoa
1/4 cup Extra Virgin Olive Oil
2 teaspoons grated Lemon Zest
1/4 cup fresh Lemon Juice
3/4 cup chopped fresh Basil
1/4 cup chopped fresh flat-leaf Parsley leaves
1 tablespoon chopped fresh Thyme
1/2 teaspoon Kosher Salt
1/4 teaspoon freshly ground Black Pepper


In a medium saucepan, bring the chicken broth and quinoa to a boil over medium-high heat.  Reduce the heat so that the broth simmers, cover the pan, and cook until all the liquid is absorbed 12 to 15 minutes (it may take longer...just eye it).  Transfer the quinoa to a large bowl.

In the meantime, whisk together the olive oil, lemon zest, lemon juice, basil, parsley, thyme, salt and pepper in a small bowl.

Pour the dressing over the quinoa and toss until all of the ingredients are coated.

NOTE: Giada's recipe calls for 2 (4 ounce) cans of boneless, skinless salmon, drained and flaked tossed with the quinoa and dressing.

ENJOY!

PRINTABLE RECIPE HERE


Monday, June 23, 2014

MANGO SALSA

1 - Large Mango, diced
1 tbsp. fresh Jalapeno, finely chopped
1/4 cup Red Bell Pepper, finely chopped
1/4 cup Red Onion, finely chopped
1/4 cup Cilantro, finely chopped
2 tbsp. fresh Lime Juice
Salt and Pepper

Mix all ingredients in a small, glass bowl.  Chill and serve.


Okay, literally I am not joking, this recipe you will want to eat straight out of the bowl.  It is just that freaking good!  I put in on top of grilled fish or chicken and if there is any leftover (and that's a big "if"), I eat it as a side with scrambled eggs and bacon.  Yumm!!  But, I have to say, I heap loads of this salsa on top of my fish or chicken so the chances of any being left over are pretty slim.  

Now, when you select a mango, choose one that is slightly soft, that gives when a little pressure is applied.  I didn't know if I could explain adequately how to cut a mango, so I added this link that tells in detail and with photos. I am a visual learner, so I thought this would be a great tutorial.  Ihttp://www.simplyrecipes.com/recipes/how_to_cut_a_mango/


One tip I have learned over the years is....if you are going to cut a pepper, like a jalapeno, you need to keep the juices from touching your fingers.  When the juices get on your fingers it takes a longggggg time for the burn to go away.  I have used gloves and when I didn't have gloves, I just used the bag from the grocery store that the peppers were put in.  It's not great but I tell you it is so much better than suffering for the next hour. Another thing you can do is rub oil on your fingers...only the ones that touch the pepper not the ones that hold the knife.  Usually, what I will do is put a little bit of oil on a plate and then dip my fingers in and rub them together.  The oil acts as a barrier and soap and water will wash it all off your fingers.

This recipe is so fresh and so colorful but mostly it has a phenomenal blend of flavors.  I hope you will try it soon.  I think it will become a regular in your kitchen line-up.

Grilled fish with Mango Salsa, Herbed Quinoa and steamed brocolli

Thursday, October 31, 2013

DIJON HERB CRUSTED SALMON


Nordstrom  Restaurant is mine and my daughter's favorite place to eat when we are shopping at the Houston Galleria.  Because I have been trying to eat things that will benefit my body and my health, I looked on the menu for what I thought would be the healthiest meal and what I would like the best and I discovered the Nicoise Salad with Herb Crusted Salmon.  Oh my goodness....the best salmon ever.  I am not a die hard salmon fan but I will eat it because I know it is good for me.  But my daughter won't touch it.  The first bite I took, I realized I had to get her to try it.  It literally tasted like a grilled steak...not fishy at all!  Remarkably, I didn't have to beg.  I think she just saw how amazed I was by it that she was eager to see if finally she could actually like salmon.  Well she took more than one bite and we asked the waiter how to make it.  He was so nice and told us but he also told us that it was in the Nordstrom cookbook, "Flavors". 

I made the recipe last night and it was super easy and a-m-a-z-i-n-g!!  My husband does not like salmon, he likes fishing for it, but eating it....not so much.  He loved it! 

Be sure to get the best salmon you can.  In my area, the best I could find was at H-E-B in Beaumont.  The guy behind the counter told me that they get fresh fish in every other day.  Be careful though, there are several to choose from.  Some are previously frozen, some are farm raised, and some even have color added....what's up with that?!  I finally decided to get farm raised with no hormones added, no color added and had not been previously frozen.  I also had the skin removed.  I would love to hear where you get your fresh fish if you are in my area.

Another thing, don't skimp on the Dijon mustard.  Make sure you coat the fish well.  It is so delicious in this recipe!

I hope you try this recipe.  Salmon is so good and healthy for our bodies and this recipe is worth giving a whirl!  Oh and I think I am going to try this herb mixture on top of some chicken.  It is just so delicious!


DIJON HERB CRUSTED SALMON

4 Green Onions, white and light green parts only, minced
1/4 cup Fresh Flat-Leaf Parsley, packed and chopped
1/4 cup Fresh Basil, firmly packed and chopped
1 tablespoon Fresh Oregano, firmly packed and chopped
1 tablespoon Fresh Thyme, firmly packed and chopped
3 large Garlic Cloves, minced
1/3 cup Extra Virgin Olive Oil

6 Skinless Salmon Fillets (6 ounces each)
Sea Salt or Kosher Salt
Black Pepper, freshly ground
2 tablespoons Dijon Mustard

Preheat the oven to 450 degrees.

Line a rimmed baking sheet with parchment paper.

To make the Herb Crust, in a small bowl, stir together the green onion, parsley, basil, oregano, thyme, and garlic.  Drizzle in the oil and stir to moistened evenly.  Set aside.

Season the salmon on both sides with salt and pepper.  Place the salmon, skinned side down, on the prepared baking sheet.  Using the back of a spoon, evenly spread 1 teaspoon of mustard over the exposed surface of each fillet.  Using a rubber spatula, evenly spread about 2 tablespoons of the herb crust over the mustard coating on each fillet.

Roast until the salmon is barely opaque when flaked with the tip of a knife, about 10 minutes.

Using a thin, flexible metal spatula, transfer the salmon fillets to warmed dinner plates. 

Serve immediately.

ENJOY!


Tuesday, September 3, 2013

RASPBERRY FILLED CINNAMON BITES


These little nuggets are just sheer breakfast joy!  I have been making these for my kids ever since they were in preschool and they have not grown out of them yet....still one of their favorites!

I am pretty sure that Christopher brought this little recipe home from preschool like 20+ years ago.  It is not the healthiest thing to eat but it sure is the YUMMIEST thing to eat.  I absolutely love them and could eat a dozen of them at a time!  I cannot describe how wonderful the combination of flavors are in this recipe and, to top it off, they are so easy and quick to make. 

I actually make these just to blog them.  I am trying to cut back on my sugar and my husband only ate two so I was left with quite a few.  My daughter and son-in-law came over to eat and saw those on the counter and their eyes nearly popped out of their heads! Ha!  They both grabbed one before we even sat down to eat!  So, believe me when I say these are REALLY, REALLY scrumptious!  And...the smell when they are baking is heavenly!  Go get your ingredients....this one is worth it!


RASPBERRY FILLED CINNAMON BITES

1 can Buttermilk Biscuits, 8 biscuits
1/2 stick Butter, melted
1/2 cup sugar
1 tablespoon cinnamon
Raspberry Preserves

Preheat oven to 350 degrees.

Combine sugar and cinnamon in a small bowl.
 
Cut each biscuit in half. 


Roll each half into a ball
 

Dip the ball in butter and then roll in cinnamon sugar mixture.
 

Place in a muffin pan.


Bake for 13-15 minutes.

Immediately make an indention in each biscuit right out of the oven.
If you do not have one of these little devices...you can use anything that is the size of a half dollar to make the indention.

Remove from pan and place on a serving plate.

Place a dollop of raspberry preserves in the center of each.

Makes 16  (Too bad they don't make a 16 hole muffin pan!)


ENJOY!


Sunday, September 1, 2013

CHILI-TACO SOUP


I first had this soup at Bible Study Fellowship years and years ago.  Every month, the ladies in my group would get together and have a luncheon.  The lady that made this actually made it in a crock pot.  I didn't ask but I am sure she browned the meat, put it in the crock pot,  and then threw the other ingredients in with it.  I don't know but it was absolutely delicious. 

However, I am a recipe tweaker!  So, when I made this soup today, I decided I would write down exactly what I did different.  Wow...I made 11 changes.  That is the good thing about a soup like this, you can make it however you and/or your family like it.

I added Chicken Broth in place of 2 cups of water. I added granulated garlic to the ground meat while it was browning along with about a teaspoon of salt.  I increased the amount of green onions, onions, and peppers.  I added frozen corn instead of canned, green chiles, steak seasoning, cumin and garlic salt.  I just kept tasting and adding until I got it just like I wanted it.  I would suggest that you do the same when it comes to the salt.  The rule is you can always add but you cannot take away.  Which reminds me of the time (one of the only times) my husband decided to cook. He made a stew and put way too much salt so he decided to fix it with sugar....the kids still remember that disaster! Ha!  He tried...what can I say?!

This is such a great soup to make and freeze.  It is so nice, on those days that you don't have time to cook or don't want to cook, to be able to just pull something out of the freezer that you have made.

I know it is still HOT outside but I am the type person that could eat soup all year long.  Hence, my love of Olive Garden's Unlimited Soup and Salad!  Here is the recipe...let me know what you think!


CHILI-TACO SOUP

2 lbs. Ground Sirloin
1-1/2 tablespoons Granulated Garlic
1 teaspoon Salt
1/2 cup Green Onion, chopped
1/2 cup Onion, chopped
1/2 cup Green Bell Pepper, chopped
3-4 large Garlic Cloves, minced
2 cans Campbell's Chicken Broth
1 tablespoon Chili Powder
1 package Taco Seasoning
(1) 14.5 ounce can Petite Diced Tomatoes
2 cans Ranch Style Beans with or without Jalapenos
(1) 16 ounce package Whole Kernel Corn
2 cups Water
(2) 4 ounce cans Diced Green Chiles
1 teaspoon Cumin
1 teaspoon Garlic Salt
1 teaspoon Steak Seasoning
Fresh Ground Pepper

Brown the ground sirloin and sprinkle with granulated garlic and salt.  Add the chopped veggies and cook until meat is done.  Add 1 can of Chicken Broth, cover and simmer on low for 15 minutes.  Remove lid and add the remaining ingredients.  Turn up the heat and bring to a  boil then decrease the heat to low.  Simmer another 20 minutes, or longer if you have the time. 

Serve in bowls with shredded cheese of your choice, tortilla chips, green onions, sour cream and/or chopped avocados.


Saturday, August 31, 2013

CHICKEN SALAD


If I only had a dime for every time I have made this chicken salad...I would be a rich girl! Ha!  I have made it for just about every baby and wedding shower I have ever given and for luncheons galore.  It is quick to make and super easy, as well!

I first had chicken salad made with grapes at a local, little bakery.  I went there probably every week.  But, unfortunately, the owner sold out and when the new management took over, they did not offer lunch...boo!!  So, that left me to try to figure out how to make that amazing chicken salad.  I tried different ingredients until I came up with this one and it is my favorite. 


CHICKEN SALAD

1 - 12.5 ounce can Tyson Chicken Breast, drained
2 Eggs, boiled, peeled and diced
4 tablespoons Mayonnaise
2 heaping teaspoons Sweet Relish
Sweet Green or Red Grapes, approximately 20 halved
2-3 tablespoons chopped Pecans or Walnuts or sliced Almonds
Salt and Pepper, to taste

Put the chicken in a medium bowl and using a fork, separate the chicken.  Add the other ingredients and stir well.  If you feel like it needs more mayonnaise, you can add it at this time.

Serve on lettuce, bread or croissants.

Makes about 6 whole sandwiches, depending on how much mixture you place on each sandwich.


 ENJOY!


Thursday, August 29, 2013

HONEY VINAIGRETTE DRESSING


This dressing has been my very favorite for years now.  The flavors of garlic, dijon mustard, and honey work so well together and make any salad over the top delicious!

One of the reasons I like this dressing so much is that it tastes so fresh (because it is), and it is super easy to throw together!  It will keep in the fridge for several days to a week.  It could probably last longer but I am over cautious when it comes to food safety!  Tonight, I grilled some tilapia, made some garlic brown rice (it was from a box and scrumptious), and served this salad and dressing along side of them.  Healthy, filling and super tasty!

If you are used to buying bottled dressings, I would urge you to just give this a whirl.  I think you will see that it is worth the little bit of extra time it takes to make it from scratch!


HONEY VINAIGRETTE DRESSING
 (I usually double this recipe)
 
2-3 Garlic Cloves, minced
Enough salt to make a paste
1 tablespoon White Wine Vinegar
1 tablespoon fresh squeezed Lemon
2 teaspoons Honey
1 teaspoon Worcestershire
1/2 teaspoon Dijon Mustard
1/4 cup Olive Oil
Fresh Ground Pepper
 
With the back of a spoon mash the garlic and salt into a paste.
Combine the other ingredients and add to the garlic paste.
Whisk all ingredients together until well incorporated.
Serve over your choice of salad greens.
 
 
ENJOY!


DELICIOUS GLUTEN FREE PANCAKES


This morning, I decided I would start trying some of my favorite breakfast items in gluten-free form.  Pancakes are probably my favorite breakfast dish. I decided to use Pamela's first because 1) my friend Nita has raved about it for a while now and 2) Brown Rice Flour is the first ingredients and 3) I can buy it at a local grocery store without having to drive 20 miles. 
 
 
Food labels list the ingredients in order from the greatest quantity to the least.  Of course, any pancake mix always has flour as its first ingredient.  So, the fact that Brown Rice Flour is a healthy substitute left me hoping that it would be as good as the enriched flour pancakes I have eaten all my life.  It does have white rice flour and sweet rice flour and some starches.  I need to do more research into those items.
 
However, when I poured the dry ingredients into the bowl, I noticed some brown flecks in it.  I looked back at the list of ingredients and there is was, "Natural Almond Meal (may appear as brown flecks).  Now, that's exciting...healthy almonds!   To the mix, you add 3/4 water, 1 large egg and 1 tablespoon of oil (I used Canola).
 
 
It cooked just like a regular pancake.  It puffed up with the little bubbles and it was easy to flip over.  Great so far!
 
 
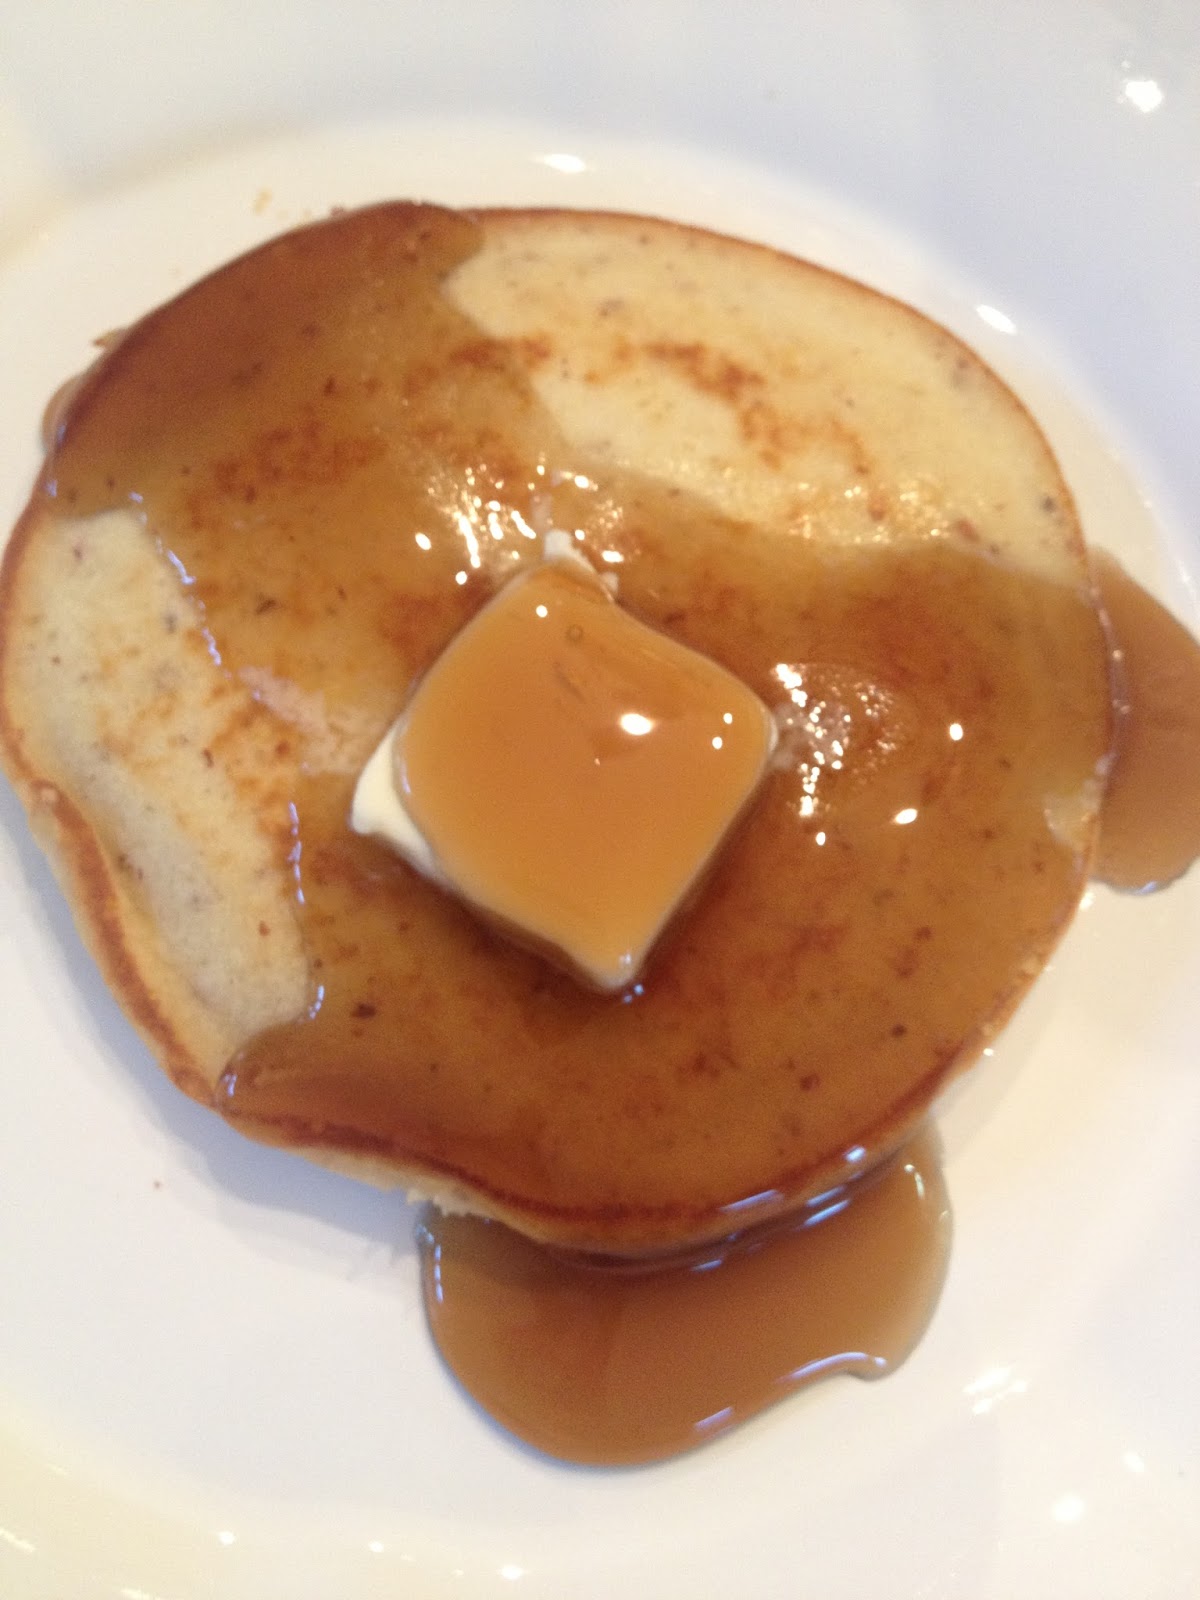
Now of course, I had to put butter and syrup on it!  I never said it was healthy....just healthier!  And...drumroll please......it tasted just as good as my regular pancakes.  I asked my husband what he thought...he said he couldn't taste a difference!
 
So, there you have it...Pamela's Baking Mix makes great pancakes and they are gluten-free....that was a shocker for me!


Wednesday, August 28, 2013

SAUCY MEATLOAF


Okay, throw out everything you ever thought about meatloaf.  This recipe is one that will make a hater into a lover with the first bite!

I cannot remember where I got this recipe but it was so good that I wrote it in my personal cookbook that I take with me even in  hurricane evacuations!  A recipe has to be one that is tried and true and given a thumbs up by my family.  Have I convinced you yet?

This meatloaf is three different layers of flavor and is moist and juicy...yummm!!  I made it last night and served it with sweet potatoes, garlic green beans, and buttered corn.  I am giving you the recipe that I have always made but last night I changed it up just a bit to lower the sugar and to make it gluten free.  I used Organic Coconut Palm Sugar which is close to a brown sugar.  Whatever you would use brown sugar for, the coconut palm sugar would be a good replacement.  I actually just used half brown sugar and half of the coconut palm sugar.  The other thing I did was to replace the crackers with some Gluten Free Pretzels that I think taste just like crackers.  I gave those a whirl in the food processor and added them in the same increments as the crackers.  Let me just say, that the taste difference was negligible.


Whether you make it just like the recipe below or you change it slightly like I did, please give it a try.  Your family will thank you : )

SAUCY MEATLOAF

2 lbs. Ground Sirloin
1 small onion, chopped
1 medium Green Bell Pepper, diced
3/4 cup Light Brown Sugar, firmly packed
1/2 cup Saltine Crackers, crushed (about 20)
2 large Eggs
1.4 cup Steak Sauce (I use A-1)
3 tablespoons Ketchup
1 teaspoon Salt
1 teaspoon Garlic Salt
1 tablespoon Garlic Powder

Preheat oven to 375 degrees.

Combine the 11 ingredients above. Put meat on a 15X10 jelly roll pan OR a pan that allows room for the meatloaf to be formed and not touch sides.  Form the meat into a 14X8 loaf.  I never measure I just eye it. 


Brush the top of the meatloaf with the Mustard Sauce below. and then pour the tomato sauce mixture over the top.  Bake for 1 hour or until loaf is not longer pink in the center.


Let the meatloaf stand for 15 minutes, drain before serving. Meatloaf will be soft in texture.

Serves 6-8 adults.

MUSTARD SAUCE
1/2 cup Light Brown Sugar, firmly packed
1/4 cup Prepared Mustard

TOMATO SAUCE
1 cup canned Petite Diced Tomatoes
1- 8 ounce can tomato sauce
1/4 teaspoon Salt
1/2 teaspoon Garlic Salt
1/4 teaspoon Pepper


Tuesday, August 27, 2013

GIVING THE GLUTEN-FREE DIET A WHIRL

My Banana Muffin recipe made gluten-free!

Have I mentioned how much I LOVE carbs????  I think just about all my favorite foods contain carbs but I have been toying with the idea of going gluten-free. I have had some recent health issues and it made me wonder if that might help alleviate the issues.  I would always rather try the natural remedy before the medical remedy.  My sister-in-law has dealt with heartburn and indigestion for years and was recently put on a drug to control it.  She was told by a friend that going gluten-free helped her husband totally get off his medications for heartburn.  She was skeptical at first, but lo and behold, it actually helped her to get off of her medications, as well.  Now she will only eat gluten (wheat) when she is really craving something....she just prepares herself to suffer later.

This is just one bag, there was another bag and a cooler full of freezer/fridge items : )

My sweet son, Christopher, brought me tons of gluten-free foods from Austin...he was just a wee bit worried ; ) He lives a couple of blocks from Whole Foods Market.  If you ever get a chance to go to that Whole Foods, you will be in for a treat.  Great store!  I will be posting some of my favorites from the things he brought me this week.  I went to Basic Foods in Beaumont last week and was so excited to see so many great brands and choices when it comes to gluten-free. 


I wanted to post this flour mix that I purchased.  It is totally gluten-free and you replace your flour with it in same amounts...hence the name...Cup 4 Cup.  I bought it from Williams-Sonoma because I had heard so many good things about it.  It is expensive but I tried it out on my Banana Muffin recipe and I could not tell that I had changed anything.  It was really good.  I am trying to come up with a recipe for my own flour mix because the one drawback of the Cup 4 Cup is that the main ingredient is Cornstarch which is high in carbs and doesn't have any nutritional value.  However, cornstarch is gluten-free.  I am just thinking that with as many different flours and starches that there are out there, surely I can find something a little healthier...who knows?!  A friend of mine loves the brand Pamela's and they carry that at HEB.


I am reading the book "Wheat Belly" by William Davis, M.D.  My friend Nita called me the other day so excited about it and said that I had to read it.  I, of course, ran and got it pretty much immediately....if it is that good, why wait...right?  I am just beginning the book but I already feel like it is going to be a game changer.  It goes into depth about the effects of wheat in our diets and how many health issues can be resolved by just giving it up.

I know this is not going to be easy and I don't even know if I can live without wheat....how dramatic does that sound? I mean, if I want a hamburger or onion rings, or regular pasta or a donut, I think I will allow myself to have it, occasionally.  I just want to take gluten/wheat out of my diet on an everyday basis.   We'll see, in time, how this will all work out.  For now, I am finding out there is a lot of food I can still eat and most of the symptoms of my health issue have been resolved.  I just feel better knowing that I am eating healthier.   I want to be around to see my little grandbaby Alex and my future grandchildren, grow up.

If any of you have gone gluten-free, I would love to hear how it is going, what products you love, recipes, etc.  We can all encourage each other!  Love it!